For my cousin’s bridal shower, I was asked if I could set up a sweet table for the event. I was excited about the opportunity because I love sweet tables! I repeat, I love sweet tables! Sweet tables are usually the main attraction at any event! They are beautiful to look at and the sweets are like a magnet for guests!
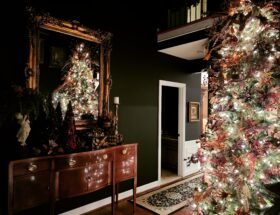
For our wedding in 2009, inspired by the Marie Antoinette movie, staring Kirsten Dunst, I purchased a plethora of sweets, numerous apothecary jars and pretty much borrowed my future mother-in-law’s entire antique silver collection! I hired the cake decorator to assemble the table and the florist to add the floral arrangements and other accents. The completed sweet table was 18 foot long! Vintage inspired and complete with fresh flowers, antique silver platters and sweets galore! The sweet table was a bigger hit than the open bar! Can you believe that?!

Seeing everyone admiring the sweet grandeur and enjoying all the treats was very extraordinary and inspired me to create masterpieces like this in the future. Since our wedding I created numerous smaller scale sweet tables for other occasions and at private events in my home. They are beautiful, fun to assemble and like I mentioned above, they are always a hit!
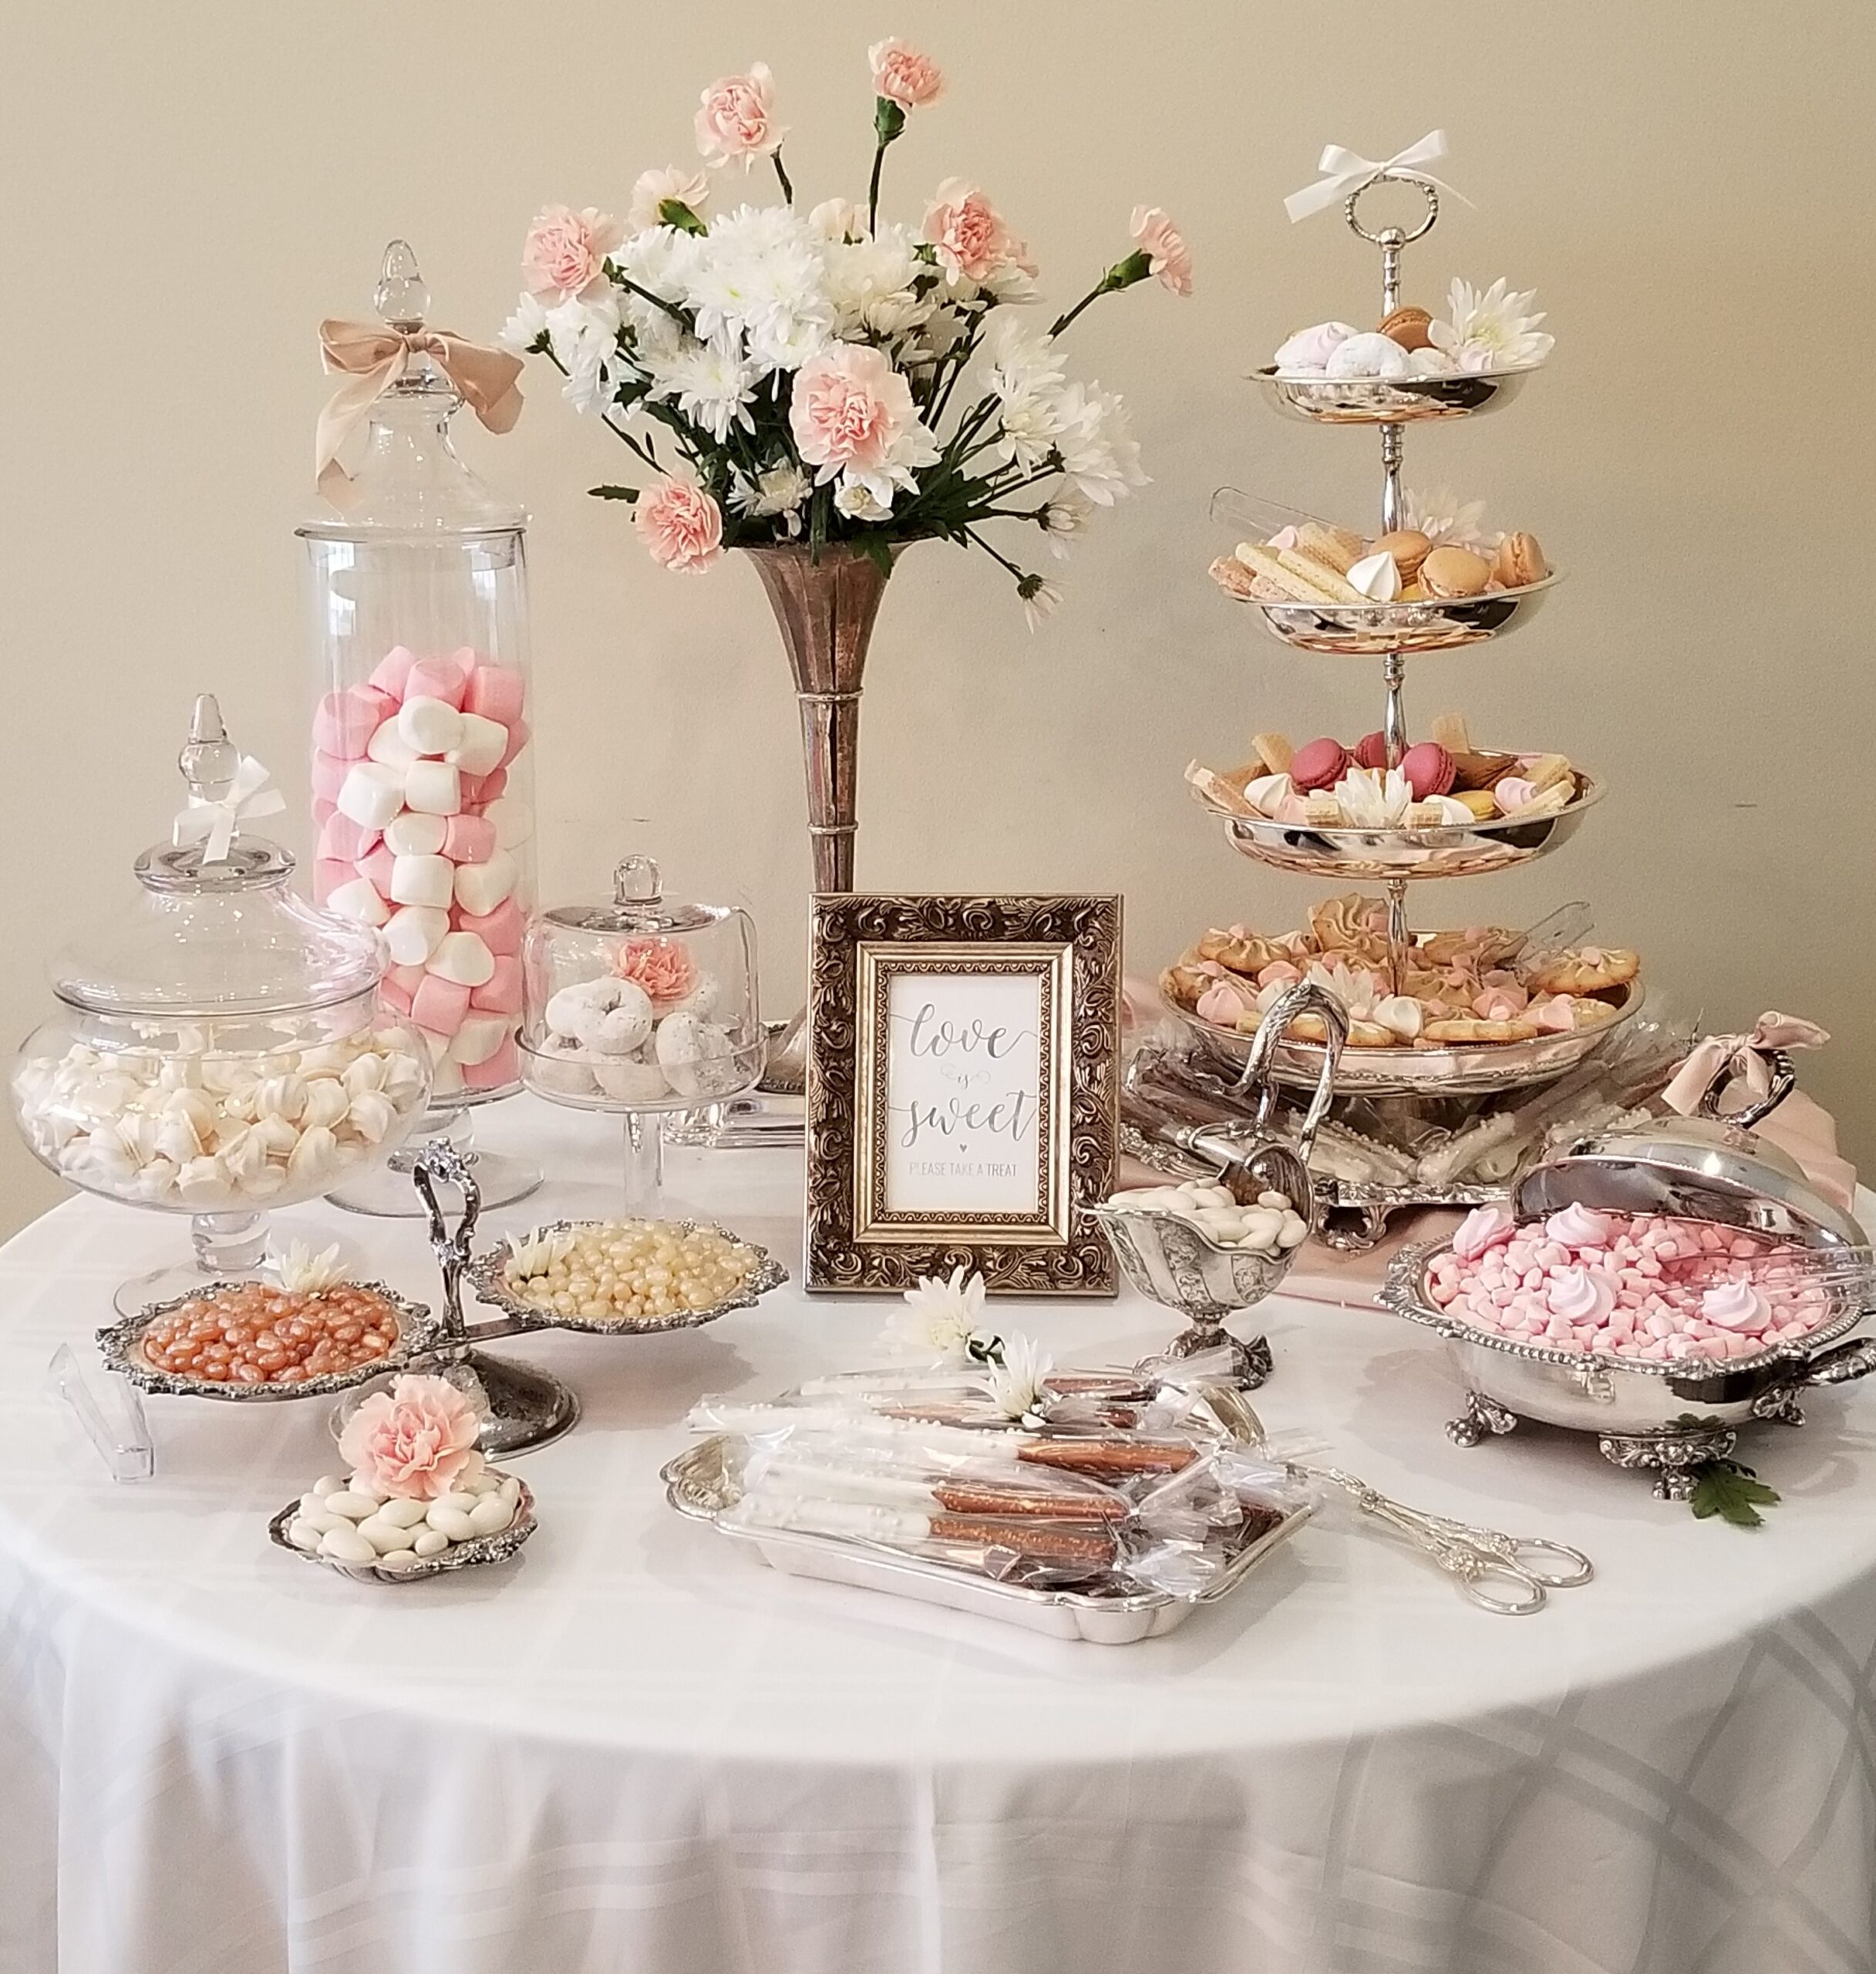
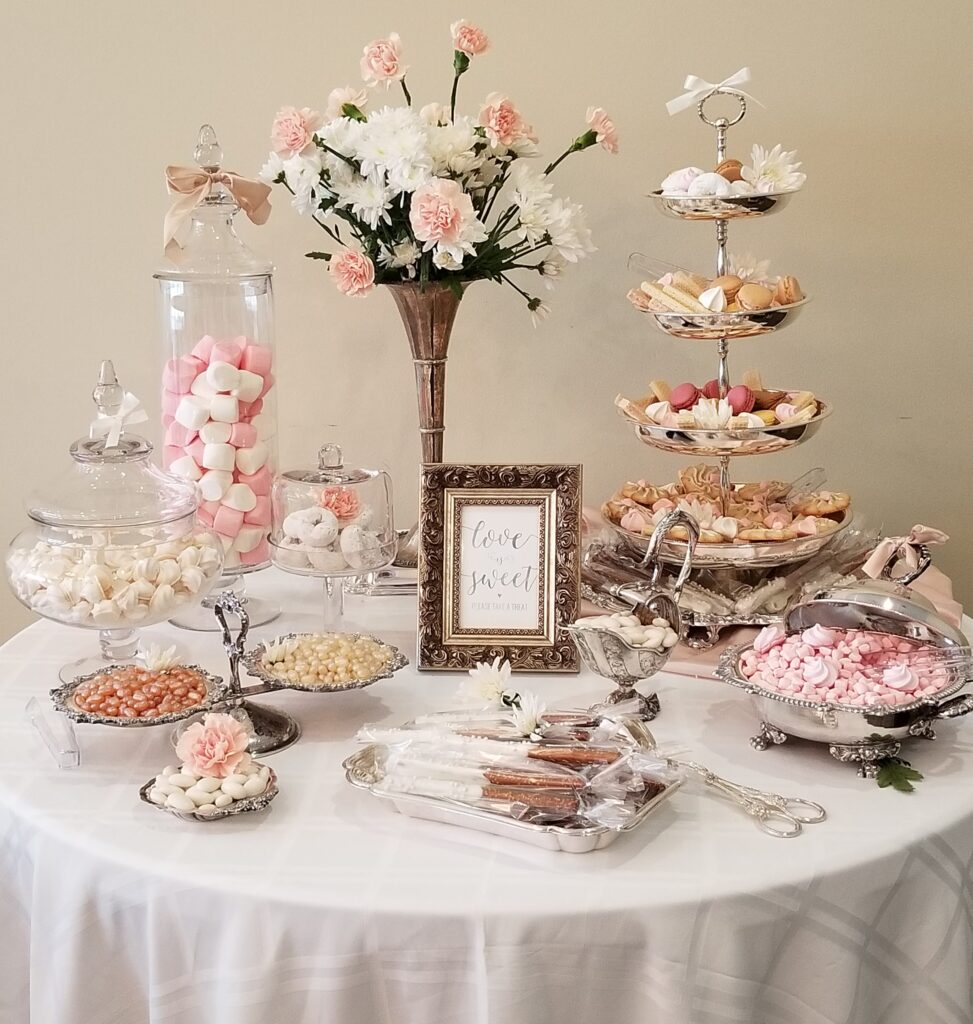
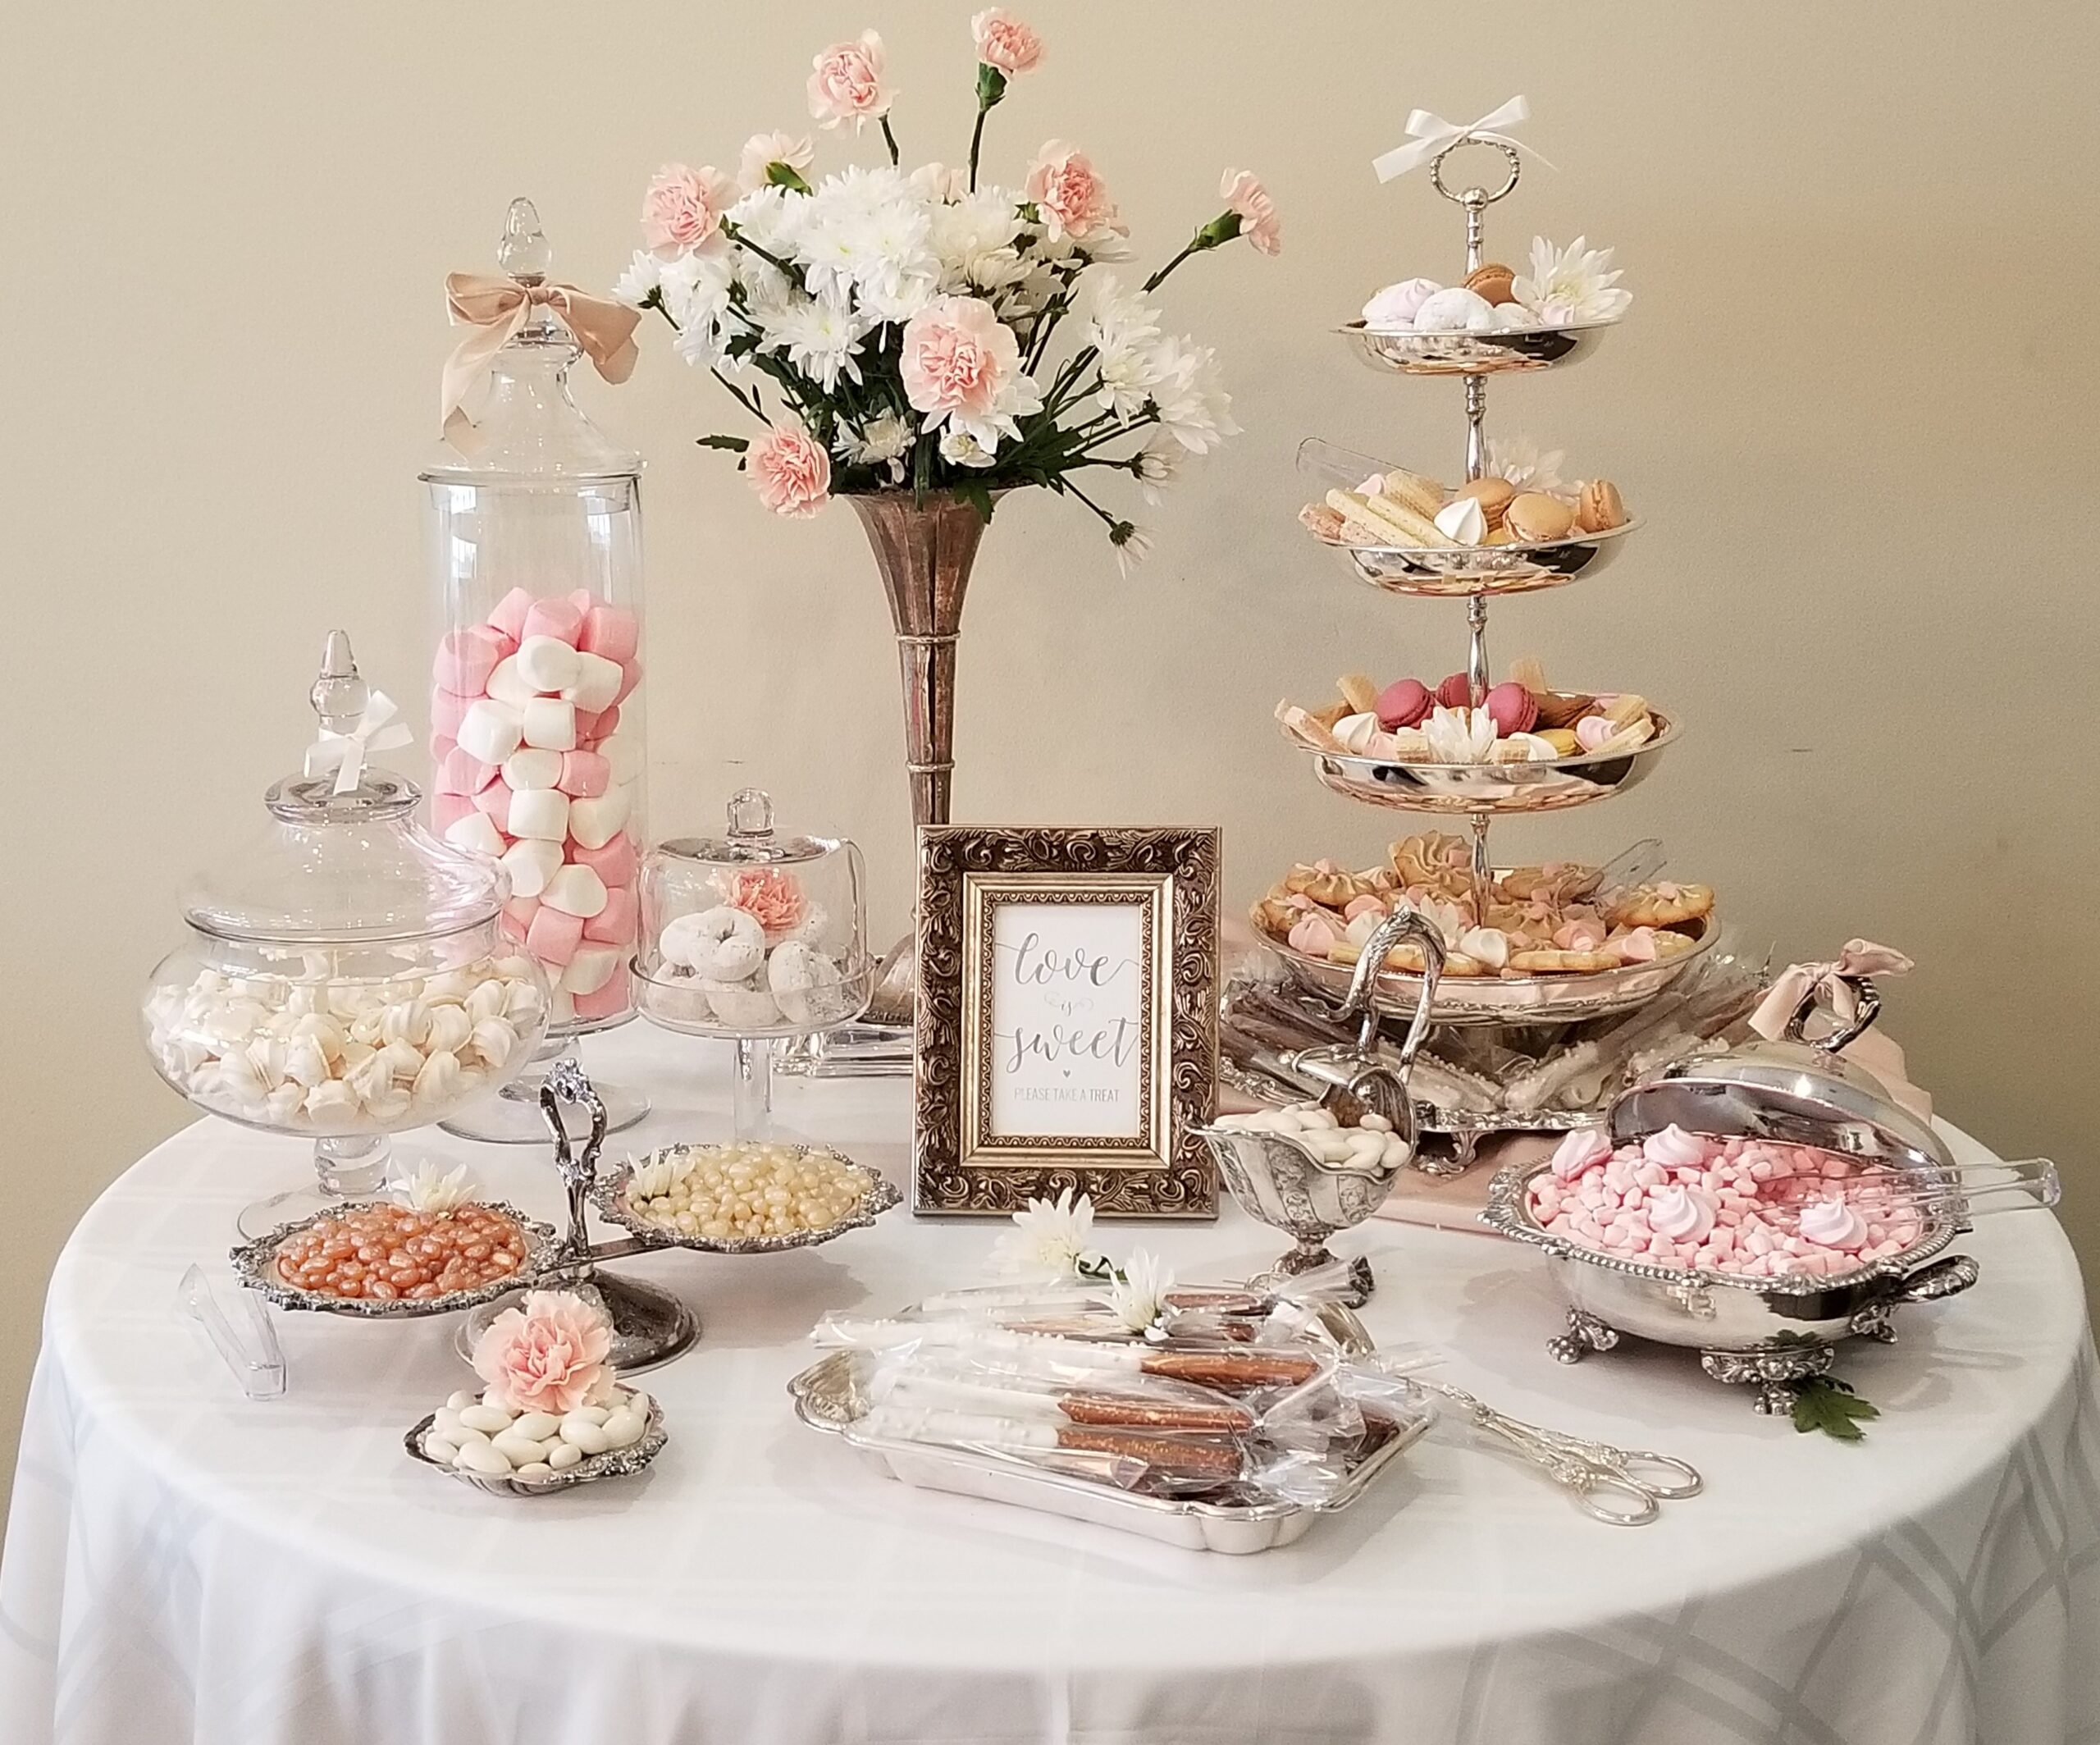
When asked to create a sweet table for my cousin’s bridal shower with 80+ guests, I was a little nervous, but mostly excited and thrilled to take on the challenge. I was given the creative license to design the table how I wanted. The overall shower theme was a vintage tea party and the bride loved pink, so I thought I could create a vintage style sweet table with hints of feminine pink for an elegant bridal look!
Below are the steps I take when creating my sweet tables:
*First: Identify color scheme/theme – Determine what the overall theme is and what the colors are for the event. Discuss with the party planner or the guest of honor.
*Second: Find your inspiration – Look at images on Pinterest, magazines, internet images, etc.
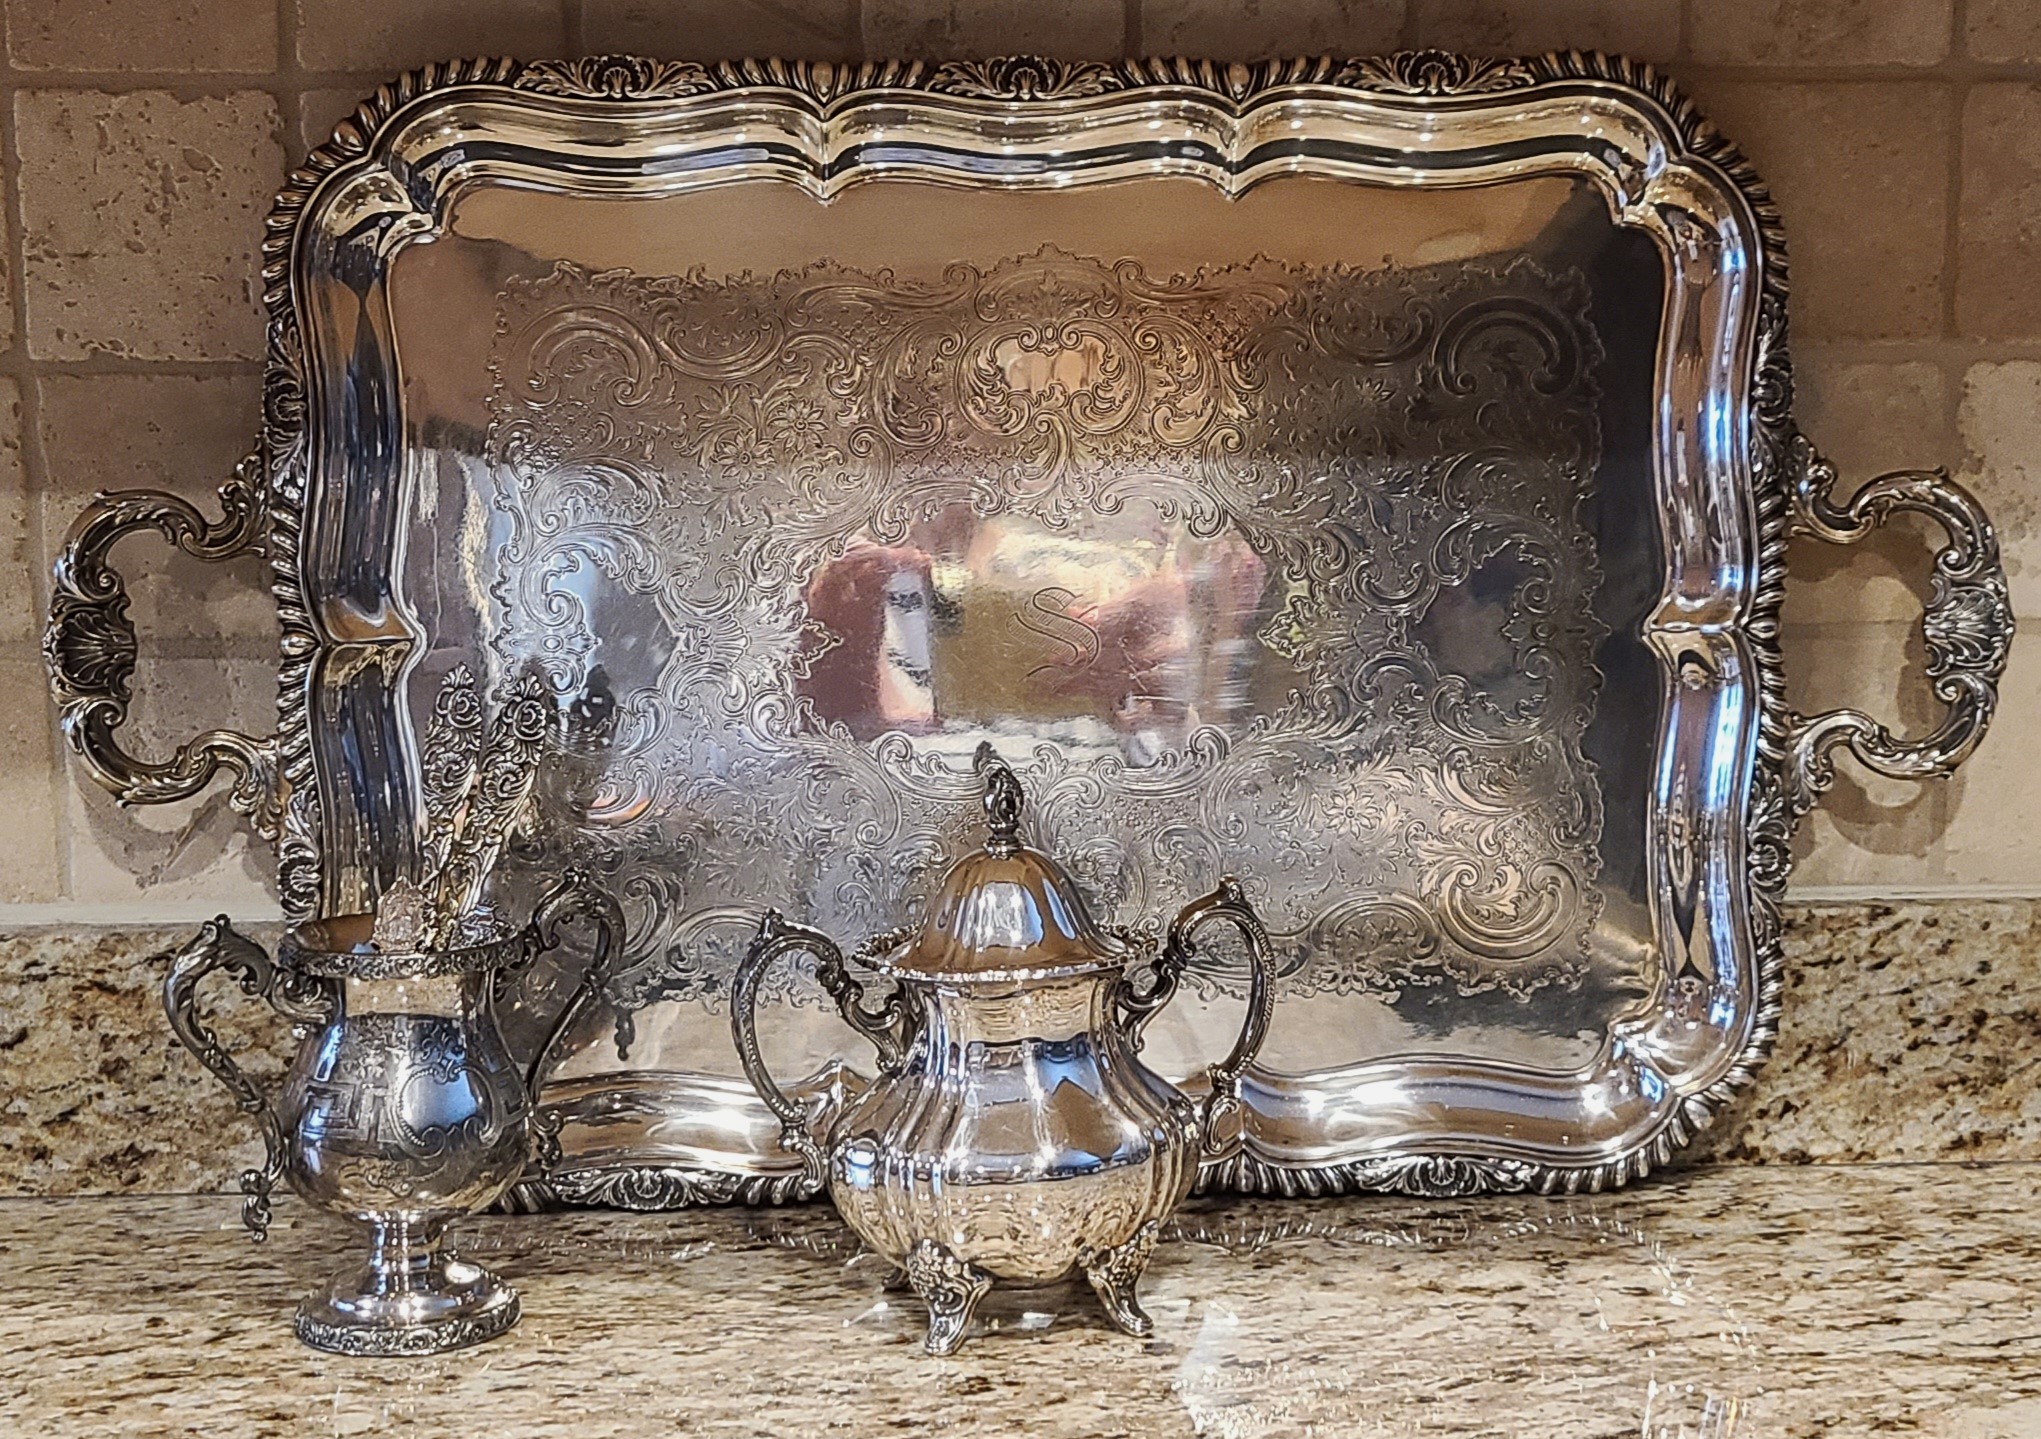
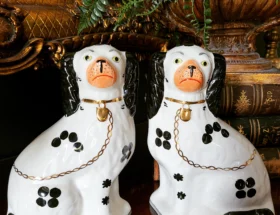
*Third: Collect supplies – This accounts for figuring out what type of vessels, dishes, canisters, platters, etc. you want to use. I used items from my own personal antique silver collection and apothecary jars I had at home. The silverplated items really make the table look vintage and elegant.
If you do not have items like that to use, you could ask a loved one if you can borrow some pieces for the event. For the sweet table we had at our wedding, I borrowed items from my mother-in-law’s collection. In the past, it was customary for people to give silver platters and such as bridal shower and wedding gifts. This is why it is common to see these items at garage sales, estate sales, flea markets, on Etsy, Facebook Marketplace, etc. Scour your grandma’s attic or your great aunt’s basement.
If you cannot find anything to borrow or you want to start your own collection for your sweet table and for sweet tables and other events going forward go shopping at garage sales, estate sales, flea markets, on Etsy, Facebook Marketplace, etc.
The apothecary jars or other glass vessels are more common and can be found online or at various stores that carry home décor stores. I used the jars I had in my own personal collection. Below are some great options via Amazon:
- Diamond Star Glass Apothecary Jar – https://amzn.to/4aHKlxc
- Mantello Apothecary Jars – https://amzn.to/3PP9RZ6
- 14″ Apothecary Jar – https://amzn.to/3U4atwG
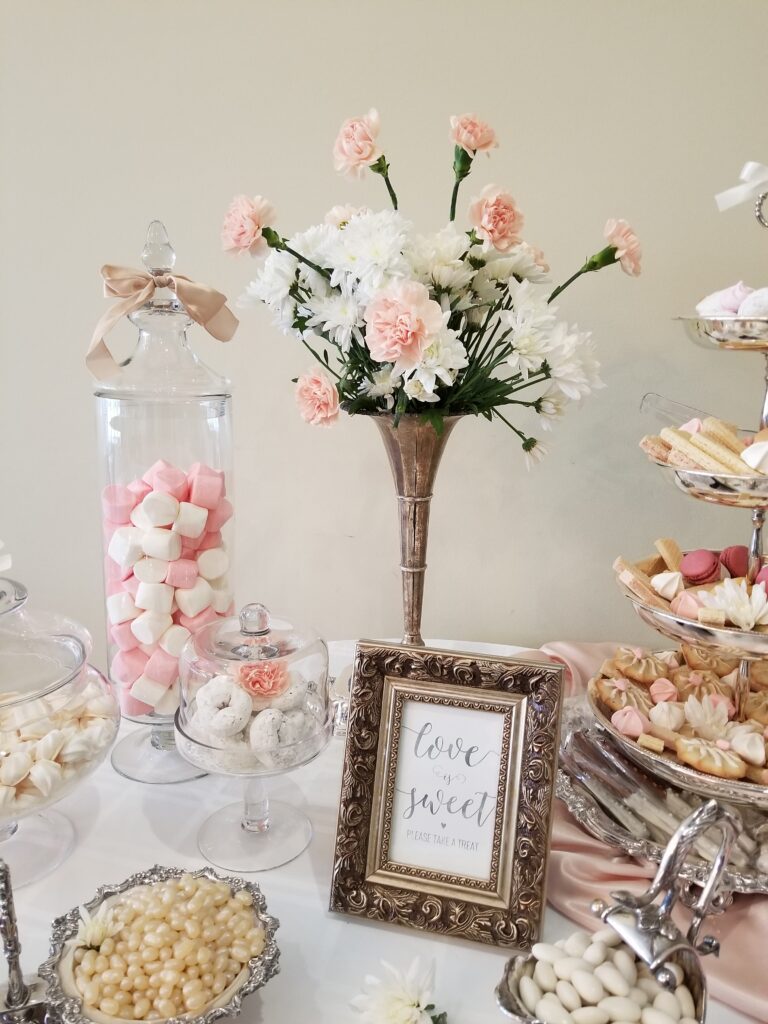
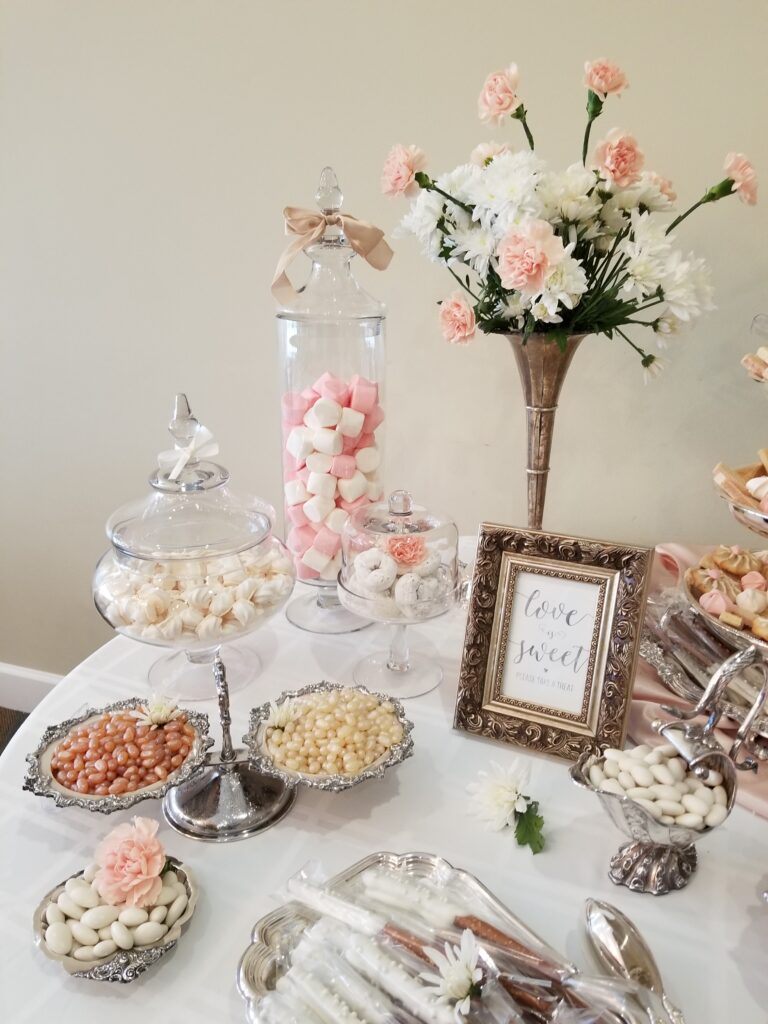
You’ll need fabrics, this includes the tablecloth or other linens you want to use. Ensure you know what table you are using for the event to determine the tablecloth dimensions. I used a round table, so the tablecloth was a white round one. To make things more elegant I used a piece of blush colored silk that I puddled under my four-tier silver cake stand. This was a piece of scrap fabric I picked up at a local fabric store. In addition, I used cream and blush colored ribbon to make the table really girly and Marie Antoinettesque. I made that word up ha ha. This also maximized textures to keep things interesting.
The sweets! The most important part! The sky is the limit with the goodies you use, but you have to keep in mind the sweets must fit in with the theme you are trying to achieve. For example, if you are going for a feminine vintage inspired sweet table to be used at a bridal shower. Think about what sweets that look feminine, what sweets look like they would be served at a tea party in the Victorian era or served at the Palace of Versailles! And make sure you stay with appropriate colors. Example, skittles or sour patch kids may not fit and be too loud for the look you want to convey. Lean more toward monochromatic to keep the vintage look but add subtle pops of color to keep it exciting.
It is very helpful to shop at bulk candy stores because the candy is organized by kind and color. A lot of online bulk candy stores have a search by color feature as well.
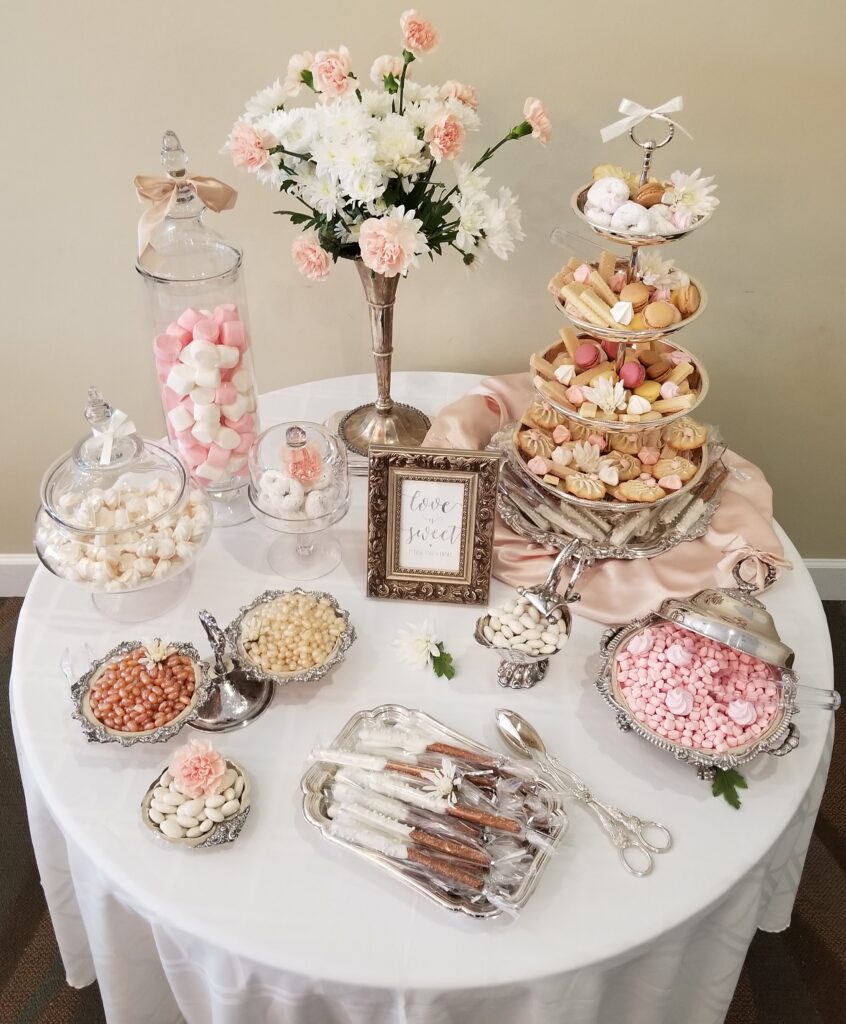
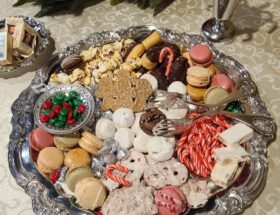
To achieve the look for my table, I kept the colors soft for the treats I used. The items I used were as follows:
- Cream and pink colored meringues –https://amzn.to/3xn7eaB and https://amzn.to/3xthgan
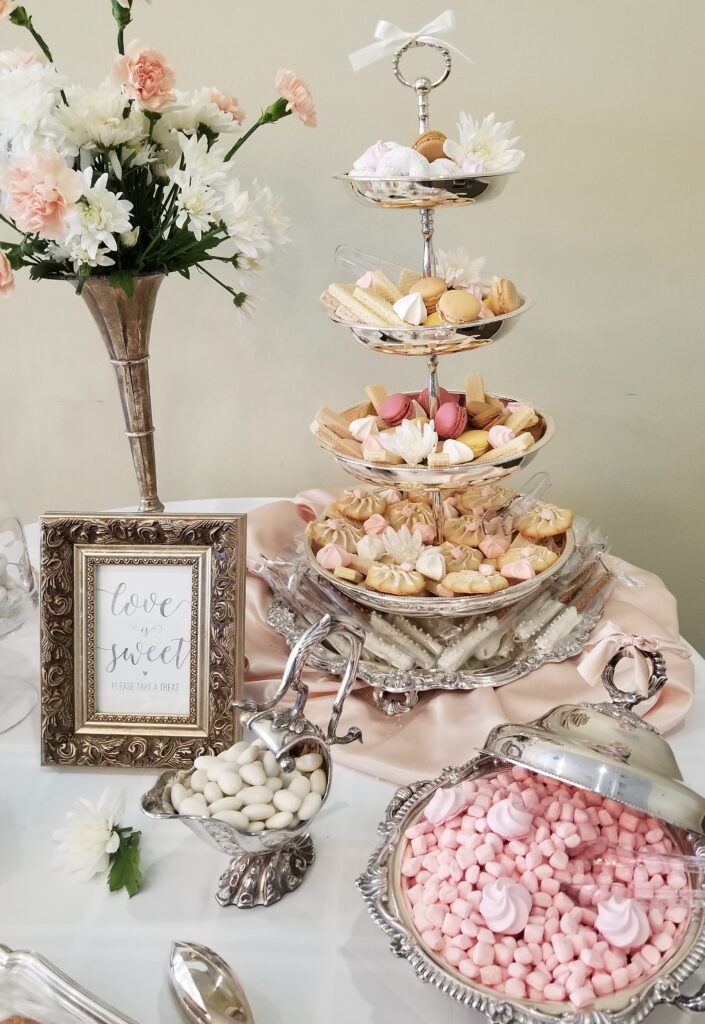
- Pastel colored macarons – https://amzn.to/4cOx87I
- Cream colored Jordan almonds – https://amzn.to/3TNwcrh
- Blush and champagne colored jelly bellies – https://amzn.to/49w8rKa and https://amzn.to/43Mu2wG
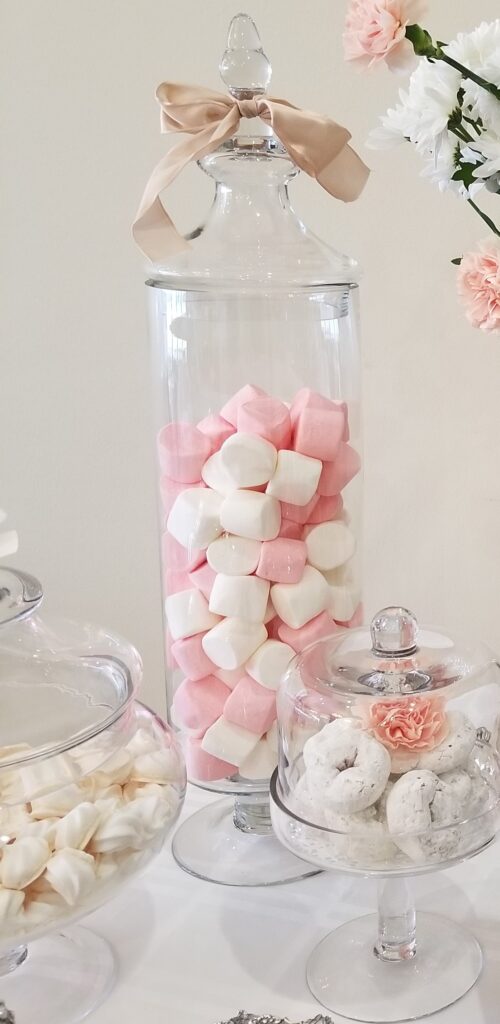
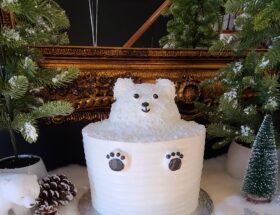
- Pink and white marshmallows – https://amzn.to/4aM3ez5
- Pink mints – https://amzn.to/3J9N3Qo
- Mini white powered donuts – https://amzn.to/4cPcPGX
- Small cookies, pale in color – https://amzn.to/3VOCSbl and https://amzn.to/3VOH37c
- Chocolate covered pretzels with white chocolate and candy pearls – homemade by yours truly 😉
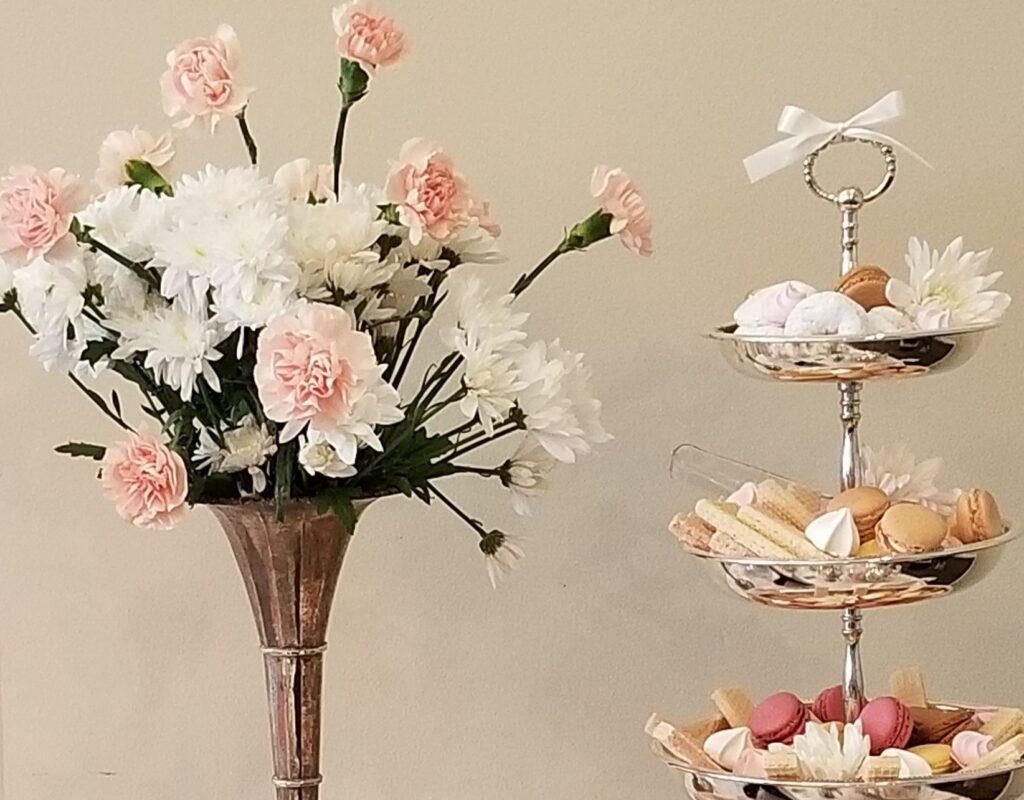
- Floral – To make this table even more feminine I added some fresh flowers in a vase. I used soft pink carnations and white chrysanthemum. I even clipped some of the flowers and greenery to distribute on the table to enhance the look and give dimension. Hydrangeas, peonies and roses are recommended for this look to keep things feminine. Fake flowers work too, as long as they are a nicer quality and look realistic.
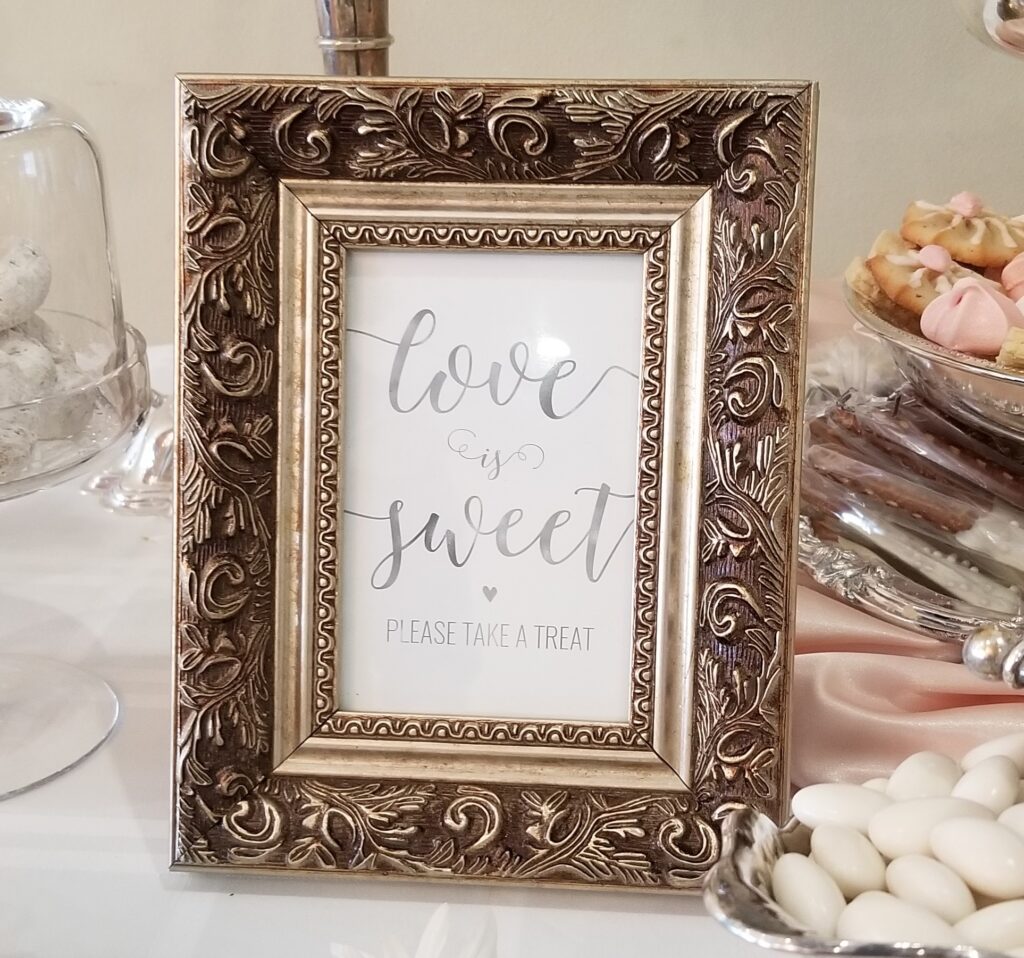
- Sign. This is optional, but I think adding a cute little sign adds to the table. Appropriate for a Bridal Shower, “love is sweet, please take a treat”, is what I put in a silver frame. It fit with both the table and an upcoming wedding.
*Fourth: Dress Rehearsal – This is a very important step, never skip it! The day or night before I always set everything up to ensure the day of event everything takes off without a hitch. I literally set up the table. Goodies, like jelly bellies and Jordan almonds can be placed in the various vessels, but certain items I actually leave in their containers for obvious reasons… white powdered donuts…ha ha. Or the marshmallows to ensure no air gets to them. I always make sure the items are fresh for the event. Move all the items around to achieve the look you want, ensure things are different heights to provide dimension. Take pictures so you have a reference piece for set up time. Make it easy for yourself!
The night before, I also put all my vessels in large Tupperware bins and have all the glassware folded in towels. I ensure things are packed properly to minimize anything from getting damaged during transport. I put all the edible items together in one bin.
Important: If you use a fabric tablecloth ensure you iron it and have it hanging the night before… you don’t want your beautiful table set up and have fold marks in the fabric without an iron or steamer onsite.
Also, for fresh flowers, be careful. I purchased beautiful hydrangeas the night before an event and had them wilt on me…. So, I had to make an emergency stop to purchase flowers! You could work with a florist and have the flowers delivered to the event or have them ready for pick up that morning. Or buy fresh flowers that morning before the event at a local florist or grocery store. Always plan ahead when it comes to flowers. Or eliminate all the stress completely and use artificial if you have some nice-looking ones.
*Fifth: Set up – arrive early and give yourself adequate time to set everything up. Make sure you have someone to help you out. Carry bins and the table. The pictures you took the night before will come in handy because your helper will understand the plan and your vision. You are the designer and worked on hard on this, therefore you want it to be assembled how you planned it.

Also, bring disposable gloves to set out all the candy and other goodies and make sure you have your hair is pulled back. The masterpiece you are creating is beautiful, but also edible, so I recommend keeping things sanitary.
Once everything is set up, step back and admire. Be sure to take all photographs before the guests dig in!
Enjoy!!


Beautiful!
Thank you very much!